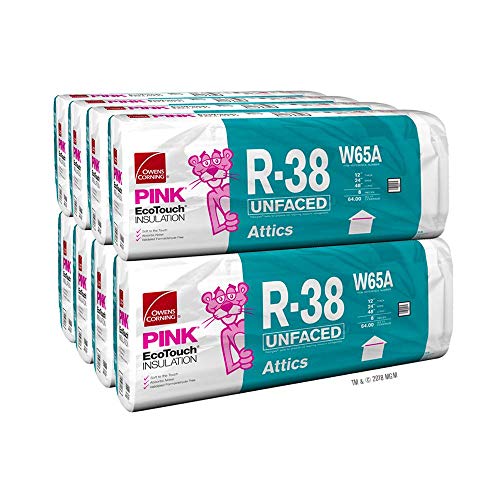
Blown-in insulation, also called loose-fill, is shredded fiberglass, cellulose or mineral wool that a machine blows into an attic or wall cavity. It wins when the space is irregular, cluttered or already partly insulated, and it loses when installation quality is hard to control. This page lays out the pros, the cons and a few decision rules.
DOE’s 2010 insulation guide lists the family as loose fill such as fiberglass, cellulose and mineral wool. [1] The material choice matters less than the installation, because ENERGY STAR says performance is highly dependent on the quality of the installation. [2]
- Blown-in suits irregular, cluttered or partly insulated attics because it flows around obstacles.
- Performance is highly dependent on installation quality, so check depth and coverage. [2]
- Seal leaks and install baffles before any loose-fill goes down.
- Keep insulation away from non-IC recessed lights and off soffit vents.
What blown-in insulation is and where it goes
Loose-fill is not rolled or cut. It is blown into spaces using special pneumatic equipment. [3] That makes it a natural fit for open attic floors, attic floors crowded with wires, pipes and ducts, and enclosed wall cavities in existing homes.
In existing walls, Fixr notes that most people who want to add insulation to an existing wall cavity choose blow-in insulation rather than spray foam. [4] Wall work is often done by a professional, so this page focuses on the attic, where homeowners most often face the choice.
Pros: where blown-in wins
Five advantages show up again and again.
- It flows around obstacles. Wires, pipes, bracing and irregular joist spacing are the places batts leave gaps. Loose-fill fills around them.
- It tops up easily. You can add depth over an existing layer, and ENERGY STAR notes it is usually not necessary to remove existing insulation. [5]
- It is cost-friendly. In DOE’s 2010 table, loose fill at R-30 was listed at $0.45 to $1.35 per square foot installed (2010 dollars), a dated figure but a useful comparison with foam. [1]
- It adjusts to any depth. You choose the final R-value by choosing the depth, instead of matching a batt thickness.
- It is a realistic DIY option. ENERGY STAR calls attic insulation generally a moderately difficult do-it-yourself project. [6] Equipment rental makes the job practical for an open attic.
Cons: where blown-in struggles
The first con is equipment and technique. HomeAdvisor notes that improper use can lead to uneven insulation or equipment damage. [7] Uneven depth means cold spots and a lower real R-value than the label implies.
The second is dust and mess. Loose-fill puts fibers in the air, so a respirator, goggles, gloves and long sleeves are not optional. Seal off the attic hatch from the living space while you work, and keep pets and children out.
The third is that depth is invisible once it is blown. Building America’s quality markers for batts are no gaps, voids, compression, or misalignment with air barriers. [8] A loose-fill equivalent is even depth, full coverage to the edges and clear baffles. Without a depth marker stapled to rafters or joists, you cannot prove what went in.
The fourth is that it covers what you did not seal. Air leaks hidden under attic insulation are hard to find afterwards. DOE notes that DIY leak checks do not work well for small and hard to detect leaks, especially those in the attics of existing homes. [9] Seal before you blow.
The prep that makes blown-in work
A short checklist before the machine starts keeps the job safe and effective.
- Seal cracks, seams and holes with caulk or spray foam sealants. [8]
- Install baffles so soffit vents stay clear; contractors should include them in every estimate, and they hold a 2 inch air gap below the roof deck. [5] [10]
- Build a barrier around recessed lights unless they are IC rated; keep all insulation at least 3 inches away from non-IC cans, and never cover soffit vents. [6] [11]
- Check for vermiculite, which may contain asbestos, and do not disturb it until it is tested. [6]
- Have an electrician look at knob-and-tube wiring, which can be a fire hazard in contact with insulation. [12]
- Mark the target depth on a few rulers or marker sticks, so depth is easy to check as you go.
Blown-in versus batts and spray foam
Against batts, blown-in is better in cluttered attics and for topping up. Batts can do very well in open attics with regular spacing if they are split around wiring and pipes with no gaps, voids or compression. [8] Against spray foam, blown-in was lower in cost in DOE’s 2010 table, but foam gives more R-value in less thickness and, when thick enough, can serve as an air barrier. [10]
DOE points to spray foam for exterior walls and cathedral ceilings. [3]
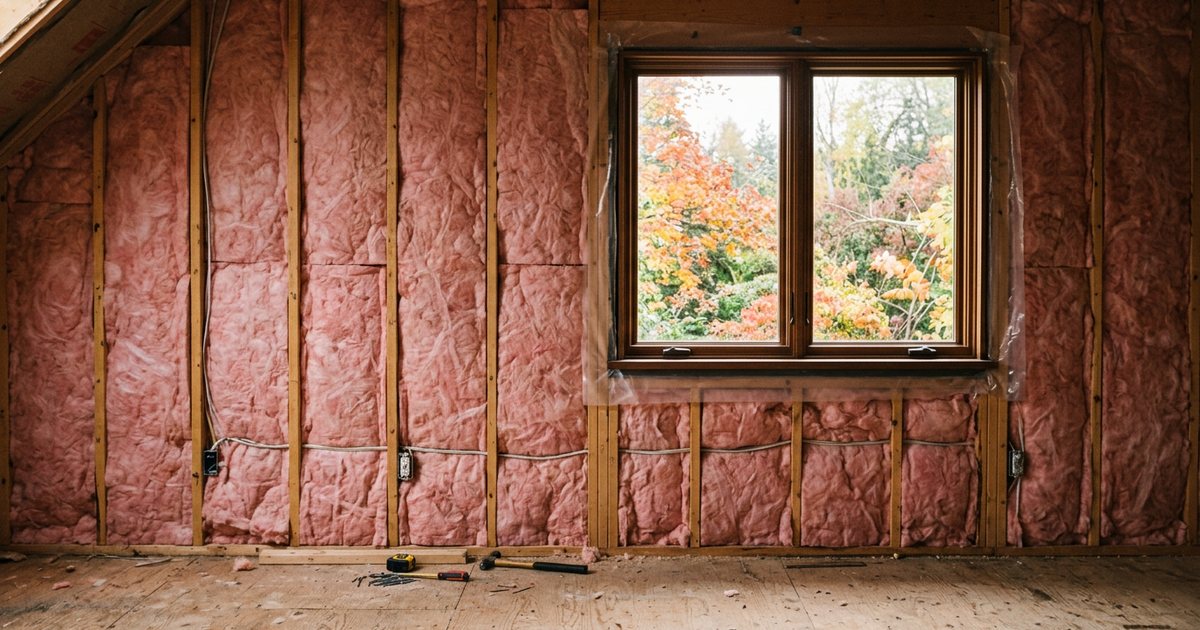
Spray foam also changes who does the work. ENERGY STAR lists it as an advanced job needing a certified installer, while it rates loose-fill at intermediate skill. [2] A simple rule: if the attic floor is open and accessible, blown-in is usually the practical choice; if the space is a roof deck or cathedral ceiling, foam deserves a professional quote.
Checking depth and coverage as the job goes
Quality control is the part most people skip. Before the machine runs, staple or tape depth markers to rafters or joists at several spots across the attic, labeled with the target depth for the material you bought. The bag label lists how many bags cover a given area at a given R-value, so count bags against square footage as you go instead of guessing. Running short of bags halfway across an attic is the usual way people end up with a thin layer in the last corner.
Work from the far end of the attic back toward the hatch, so you never walk on or compress what you have already blown. Keep an even depth, run the material fully to the eaves while leaving baffles clear, and take a photo of the markers when you finish so you have a record. Building America’s quality markers for insulation are no gaps, voids, compression, or misalignment with air barriers. [8] When a contractor does the work, ask them to leave the depth markers in place and note the installed R-value on their paperwork.
Finally, insulate and weatherstrip the attic hatch itself. A bare plywood lid sitting on a gap is a hole in an otherwise well-insulated ceiling, and it is a common leftover after a blown-in job.
A decision rule you can use
Choose blown-in when most of these are true: the attic floor is accessible and mostly open, there is wiring, ductwork and bracing to work around, there is already some insulation to top up, and you either have the patience for a careful DIY or a contractor who documents depth. Choose something else when the roof is a cathedral ceiling, when the space is a hard-to-reach crawl corner, or when you are not willing to seal leaks and install baffles first.
Whoever does the work, ask for the final R-value in writing. ENERGY STAR says the contractor is required to provide documentation of what was added. [12]
FAQ
Is blown-in insulation better than batts?
It depends on the attic. Blown-in handles wires, pipes and irregular spacing, while batts work in open, regular spaces if installed without gaps or compression. [8] Installation quality decides the result either way. [2]
Can I blow insulation over old insulation?
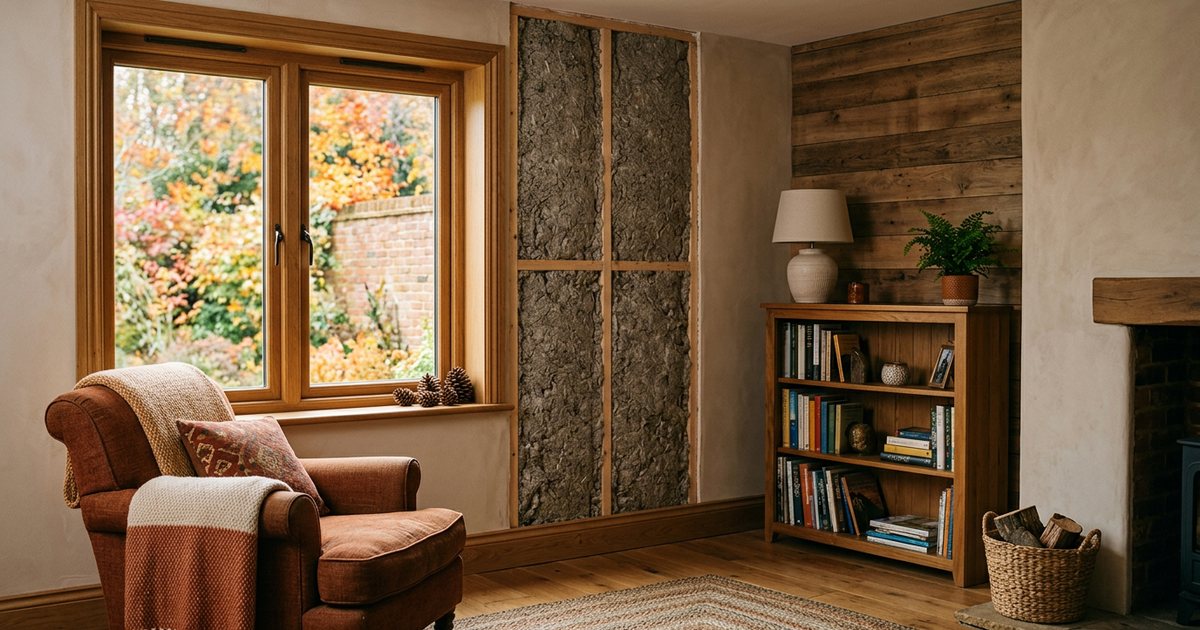
Usually yes. ENERGY STAR says it is usually not necessary to remove existing insulation. [5] Exceptions are wet, moldy, smelly or contaminated material, and vermiculite, which needs testing.
Is blown-in insulation a good DIY project?
For an open attic, it can be. ENERGY STAR calls attic insulation generally a moderately difficult DIY project. [6] HomeAdvisor warns that improper use can lead to uneven insulation or equipment damage. [7]
What is the difference between blown-in and spray foam?
Blown-in is loose fibers blown with pneumatic equipment. [3] Spray foam expands in place, gives more R-value in less thickness and calls for a certified installer. [3] [2]
Wear a respirator and eye protection, step only on joists, and do not cover recessed non-IC lights or soffit vents. Do not disturb suspected vermiculite, and have an electrician check knob-and-tube wiring. Air sealing calls for adequate ventilation so moisture and combustion gases do not build up.
Sources
- Guide to Home Insulation (DOE/EE-0340, October 2010). U.S. Department of Energy (EERE), accessed 2026-10-12
- Choosing the Appropriate Insulation Type (ENERGY STAR Certified Insulation). U.S. EPA ENERGY STAR, accessed 2026-10-12
- Tips on Saving Money and Energy in Your Home (Energy Saver Guide, 2022). U.S. Department of Energy (EERE), accessed 2026-10-12
- Spray Foam Insulation Cost (updated Jan 31, 2025). Fixr.com (contractor cost marketplace), accessed 2026-10-12
- How to Hire an Attic Insulation Contractor. U.S. EPA ENERGY STAR, accessed 2026-10-12
- Attic Insulation Project. U.S. EPA ENERGY STAR, accessed 2026-10-12
- Cost to Install Blown-In Insulation (2025). HomeAdvisor (contractor marketplace), accessed 2026-10-12
- Batt Insulation for Existing Vented Attics (Building America Solution Center). U.S. DOE Building America Solution Center (PNNL), accessed 2026-10-12
- Consumer Guide to Air Sealing the Home (DOE/EE-2470). U.S. Department of Energy (EERE), accessed 2026-10-12
- Air Sealing and Insulating Ceilings in Vented Attics (Building America Solution Center). U.S. DOE Building America Solution Center (PNNL), accessed 2026-10-12
- Insulating and Air Sealing Existing Non-ICAT Recessed Lights (Building America Solution Center). U.S. DOE Building America Solution Center (PNNL), accessed 2026-10-12
- Well-Insulated and Sealed Attic (ENERGY STAR Home Upgrade). U.S. EPA ENERGY STAR, accessed 2026-10-12
Savings, costs and rebate figures are estimates from the dated sources cited on each page; your results depend on your home, climate and utility rates, and incentive programs change often. Gas, venting and electrical work belongs with a licensed professional. This is general information, not financial, tax or legal advice. As an Amazon Associate we earn from qualifying purchases.